In this tutorial, you'll be taken through the process of creating this crow illustration. The tools and resources you will be using are just a few so this will be great practice for you to achieve real nice results while using a limited number of resources. Let's get to it!
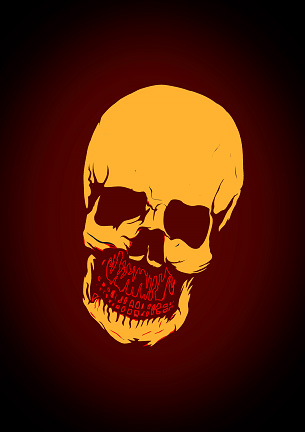
Final Image Preview
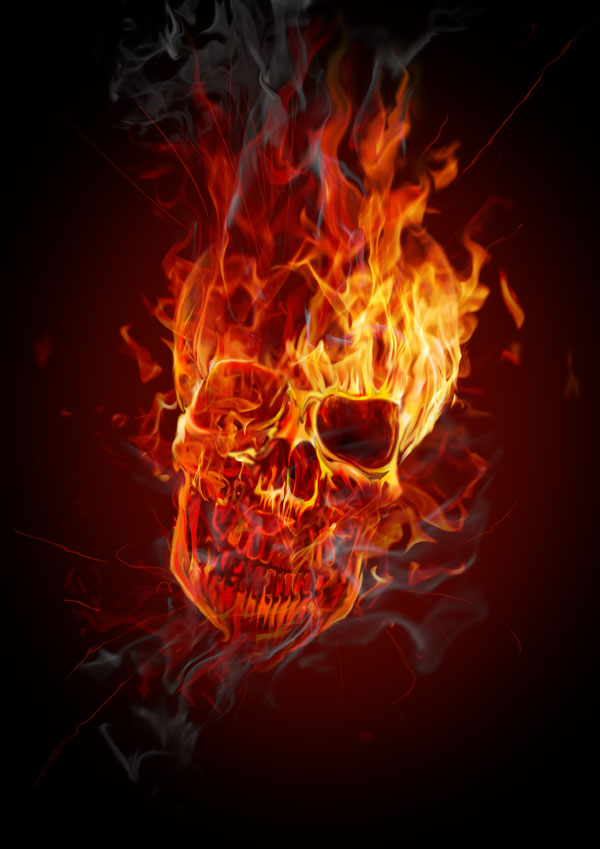
Before we get started, let's take a look at the image we'll be creating. Want access to the full Psd files and downloadable copies of every tutorial, including this one? Join Psd Plus for just $9/month. You can view the final image preview below or view a larger version here.

Preparation
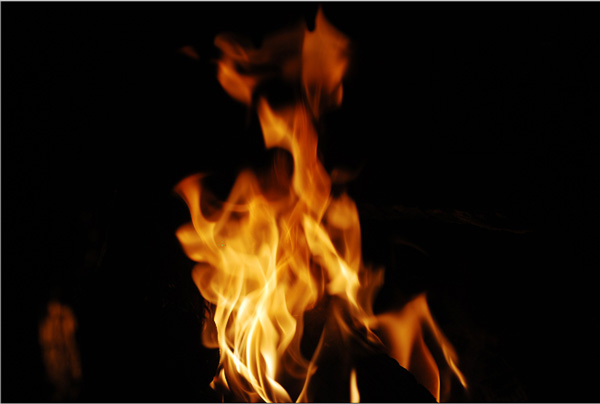
I have used a few images from stock.xchng and also used some brushes and images from DeviantArt. Take a look at the images you will be using before you start: feathers1, feathers2, feather3, crow, texture1, texture2, brush1, brush2, you can also find a lot more feather brushes on DeviantArt. And let's not forget the most important feather feather4.
Step 1
First of all, open up a new document. I have made my document very big and also used 300dpi so I can print it later. Now import paper texture1.

Step 2
Next desaturate the texture and then double-click the layer to enter the Blending Options Panel. Here you need to set the Mode to Overlay, Opacity 80%, Gradient as White to Black and Scale it to 129%.

Step 3
Import the second texture and from that texture extract only the crack. Desaturate the layer, then using the Eraser Tool (E) erase the excess.

Step 4
Cut out the crow from the image and import it to your document. Next, examine your stock image and decide what will be changed and what you need to keep from this original image. For the moment, make the image look better by darkening it. To do so first duplicate the "crow" layer, desaturate it and then set the layer to Multiply and lower the Opacity down a bit.


Step 5
Duplicate the layer again. Set it to Multiply again and set it to 40% Opacity. Also, you need to add some more shadows and light to the image using the Burn and Dodge tools (O).

Step 6
For the moment we are done with the first step of editing the crow. Now, group all the layers with the crow. Next create another group on top of that because another series of edits will be applied here.
The crow is taking shape but we need to make it look better. Darken the crow some more by duplicating the last layer you created in Step 5. Now let's bring the blue eyes back. Do this by creating a mask on the "crow" layer you just duplicated and brush over with some black to reveal the eye color. You could also make a selection and use some color settings to make them pop out as well.

Step 7
Now that we have the crow almost ready we need to start adding some brushes around it. Create a new group below the crow. In this group make a layer for each brush group. You do this so you can move each group in different places if you notice something is off. Look at the images below for reference.

Step 8
In this step, continue to add feathers, but this time you need to extract the feathers from the images provided. Open the image you want to extract the feather from and go to Select > Color Range. Select the color you want with the Eye Picker Tool. Sometimes the result can be a total mess, but you must try and get the most of your feather. Inverse the selection, copy it, then duplicate it. As you can see in the image below, I have used this piece two times and covered a good chunk with them.


Step 9
Continue adding more feather brushes behind the crow and also over the crow this time.

Step 10
Continue and add more feathers around the crow till you cover all the empty parts. Also, add another crow but this one will be smaller and reversed.


Step 11
At this point you have finished with the brushes. Next, use the same extraction technique for the feather images and get each one out of its background. This is the most difficult part of this tutorial as extracting feathers can be difficult. Below is an example of the extraction process for one of the feather images:
- Erase part of the image that has a close color to the feather.
- Use the levels and make the feather whiter. Use Select > Color Range and copy the feather.
- Transform the image to Black & White and inverse it (Command + I), then duplicate it and set the duplicate to Multiply.


Step 12
Now that I have extracted that feather I will use it on the crow's head and add some more brushes next to it.

Step 13
Next use the same stock feather image and create a punk hairstyle (punk feather style).

Step 14
Now we'll add more feathers falling from the crow. Again, extract these feathers out of the background using the same technique as before, then place each feather into place.


Conclusion
In the end, add a few shadows for some of these feathers just to add a little more depth to the illustration. You can also play a little with the colors and curves, then you're done! I Hope you liked the tutorial and had a great time working on this. You can view the final image below or view a larger version here.
Subscribe to the Psdtuts+ Rss Feed for the best Photoshop tuts and articles on the web.
Read more...